公司动态
更多>>
服务热线:0416-3821002 0416-3821003 0416-3821005 15542010001 15641606961

公司动态
更多>>产品中心
product
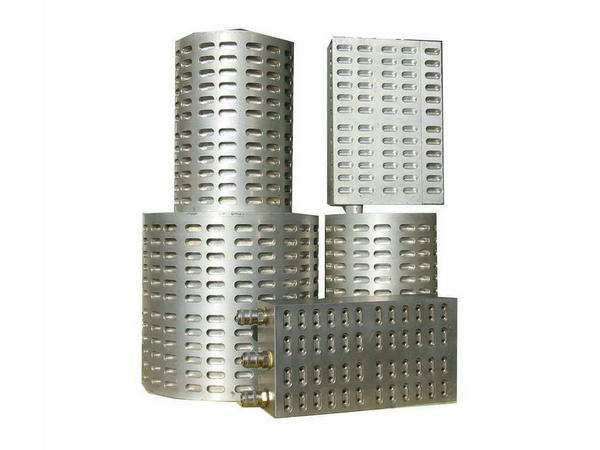
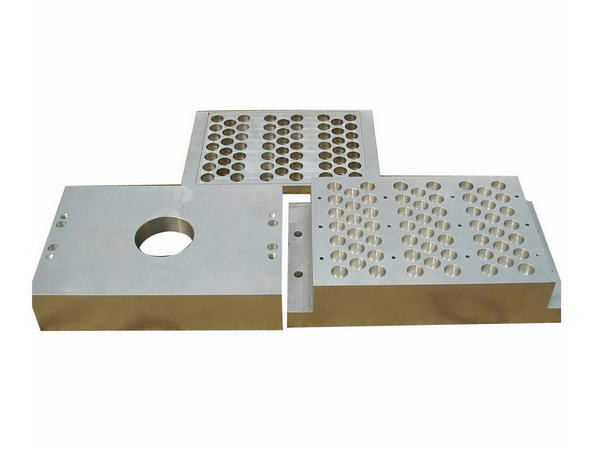 板式机kaiyun体育(中国)有限公司
板式铝塑泡罩包装机根据国家标准英文简称为DPP。其中DP为铝塑泡罩包装的英文简称,P...
kaiyun体育(中国)有限公司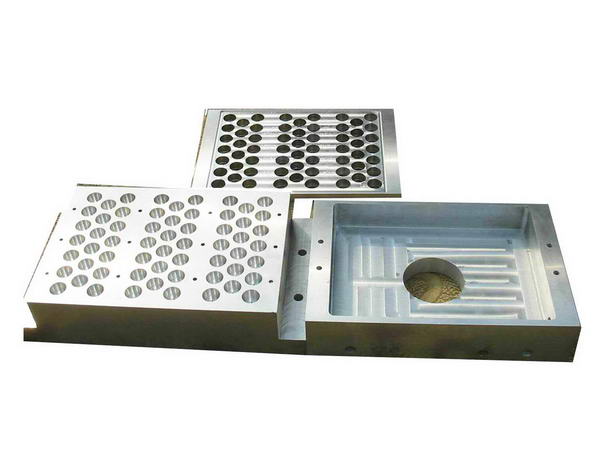 板式机kaiyun体育(中国)有限公司
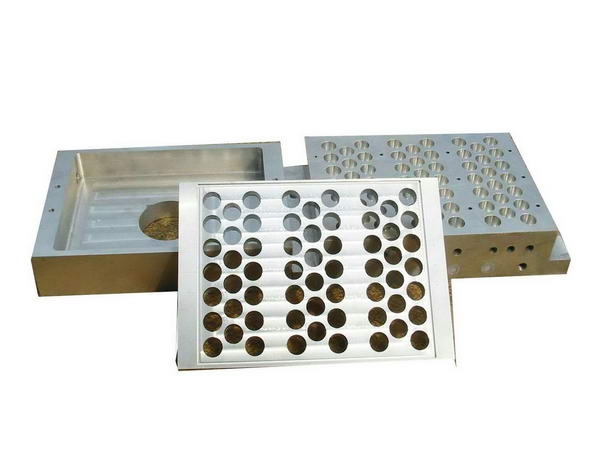
板式铝塑泡罩包装机根据国家标准英文简称为DPP。其中DP为铝塑泡罩包装的英文简称,P...
kaiyun体育(中国)有限公司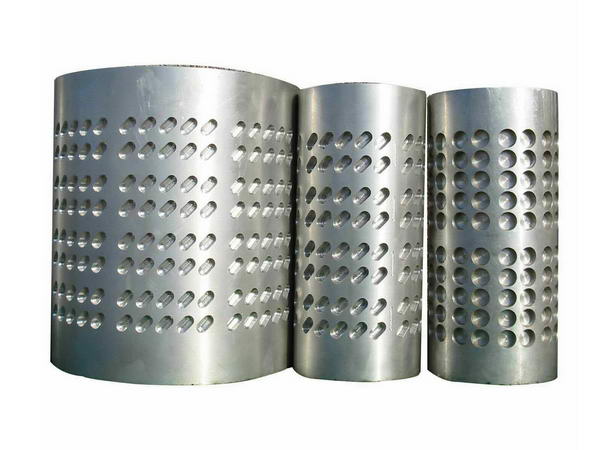 辊式机kaiyun体育(中国)有限公司
辊式铝塑泡罩包装机根据国家标准英文简称为DPT。其中DP为铝塑泡罩包装的英文简称,T...
kaiyun体育(中国)有限公司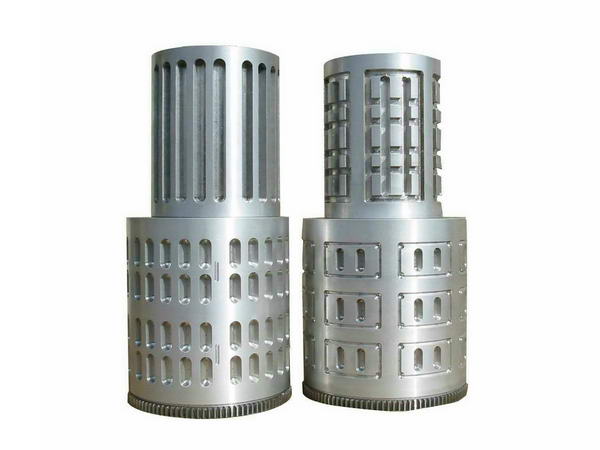 辊式机kaiyun体育(中国)有限公司
辊式铝塑泡罩包装机根据国家标准英文简称为DPT。其中DP为铝塑泡罩包装的英文简称,T...
kaiyun体育(中国)有限公司15542010001
关于我们
15542010001
锦州市太和区锦义街60甲
产品知识
更多>>kaiyun体育(中国)有限公司制造简介
具制造技术迅速发展,已成为现代制造技术的重要组成部分。现代kaiyun体育(中国)有限公司制造技术正朝着加快信息驱动、提高制造柔性、敏捷化制造及系统化集成的方向发展。具体表现在kaiyun体育(中国)有限公司的CAD/C...
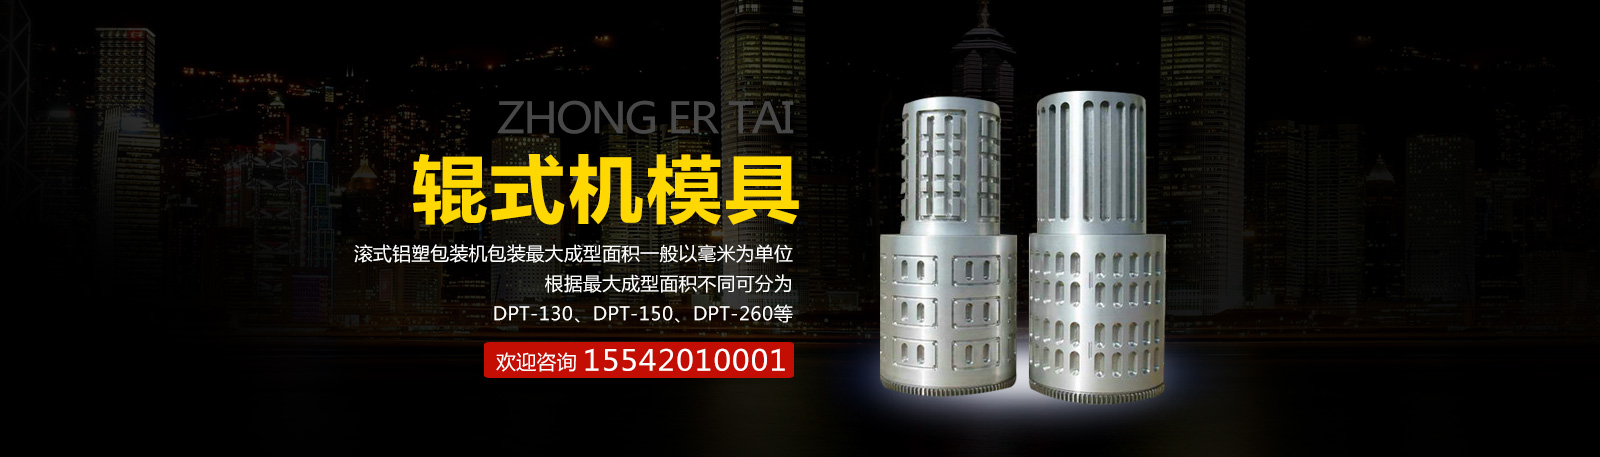
辊式铝塑泡罩包装机kaiyun体育(中国)有限公司简介
辊式铝塑泡罩包装机根据国家标准英文简称为DPT。其中DP为铝塑泡罩包装的英文简称,T为辊式铝塑泡罩包装机的简称。滚式铝塑包装机包装最大成型面积一般以毫米为单位。根据...
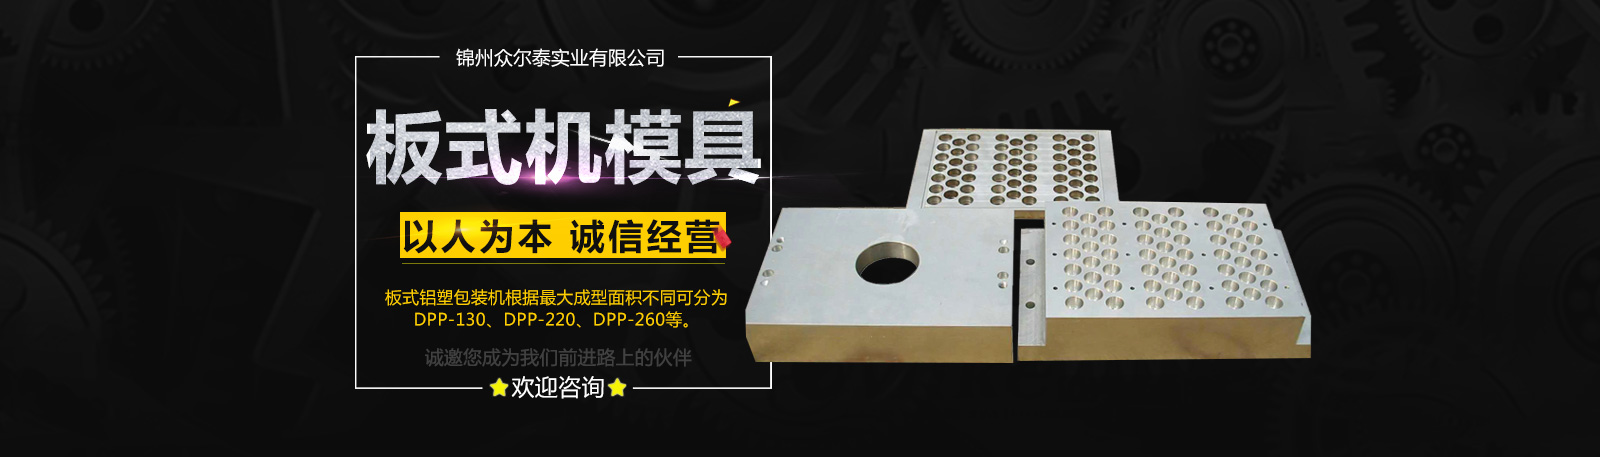
板式铝塑泡罩包装机kaiyun体育(中国)有限公司简介
板式铝塑泡罩包装机根据国家标准英文简称为DPP。其中DP为铝塑泡罩包装的英文简称,P为板式铝塑泡罩包装机的简称。板式铝塑包装机包装最大成型面积一般以毫米为单位。根据...